
Hello everyone! Today I'd like to finally share my bedroom makeover with y'all. We started this makeover in the fall, and its taken awhile to finish it up. Actually, we've had everything done except the paint and framed in windows for a few months now. It just took us awhile to get to the paint and windows. :)
Here's an "after" shot first...

Okay, now let me back up a bit and show you a few not so pretty "before" shots...
Now that I look back at these pics, it just seems too busy. There was a lot going on with that print on the comforter and not to mention those valances. Wow.

See how those prints above the bed have a dark green matte? Well, in the after shots, (in the bedroom and in the bathroom) you'll notice that I spray painted them heirloom white. Yep, plain ol' spray paint.

Also, see that green metal scroll thingy above the bathroom doors? You'll notice I spray painted that heirloom white too. Spray paint can fix anything. :)

Wow...can you say "yellow?" Lol!
The old paint color was called "lion's mane" and we thought it went well with the comforter. :) My, how my tastes have changed. Ha!
Okay, see that desk below with the computer and the huge wooden barrel thingy to the left of it? Ugh. Those were the two things that drove me crazy about this room. I hated having a computer desk in here and that barrel...well...let's just say I was not a fan of it. Hubby had it before we met. ;) This was right before we started the makeover and we had already removed the valances in this part of the room. (I just couldn't take those valances anymore) Just imagine how it looked with three big, poofy flowered valances on those windows. Ahem. :) This pic also acts as a "before" shot of the windows prior to framing them in.

(Okay, the paint was bad, but it wasn't fluorescent like it looks in the pic above. Don't know what's going on with that.)
We dismantled the desk and got rid of it (but not before saving a few pieces of the wood...you'll see why in a bit) And my youngest son was gracious enough to use the barrel in his room (bless that child) :) He was actually happy to have more storage and the barrel fit perfectly in a corner of his room. He also wanted a bigger chair for the desk in his room, so he took the desk chair too. So, are you wondering where the computer and printer went? I'll show you what we did in a sec.
Okay, now on to the prettier after shots again. :) We painted this room Kilim Beige by Sherwin Williams. We used their Duration line of paint in a matte finish. That's the same paint we used in our Dining Room, Foyer, Living Room, and Kitchen Their Duration line has anti microbial agents that inhibit the growth of mold and mildew on the paint surface, so it's perfect for kitchens and bathrooms. I can't begin to tell you how much I love this paint! The coverage is unbelievable and it's very washable too. And as a bonus, they have sales all the time! We got all of our paint at 25% off. Sweet!

I bought the new comforter set on Zulily. It has little blue and brown dots around the edges. That gave me a chance to bring in a few blue items, like the books on the bedside table and the prints on the wall that you'll see in a minute.

Below are some of the mats I spray painted.

Here's a close up of one of the pillows. I was so excited to have euro shams with this set. I was a little worried about finding euro pillows for them, but Anna's Linens had them for around $12.


There's the scroll thing above the bathroom doors that I painted heirloom white.

I don't know why the carpet looks like that in the pic above. Shadows, maybe? It doesn't look like that in real life. We just got new carpet a few years ago and I promise it's not dirty. :) Probably just my stellar photography skills. Ha! It's pretty thick carpet too, and it looks light and dark sometimes, depending on the vacuum marks. :)
Here's a closer look at the scrolly thingy painted heirloom white. It's still green on the other side. :)
Here's a closer look at the scrolly thingy painted heirloom white. It's still green on the other side. :)

These pictures below used to be in my bathroom, but I thought the blue flowers would look better in the bedroom now.

I can't tell you how much I love this little reading corner. The model home like ours had it set up just like this with a little chair, table and lamp in front of the bay window. I've wanted mine to look like that ever since. :) It's so nice to sit here with a cup of tea and enjoy reading, especially if it's raining outside. I love when it rains. :)

Basically what we did was get rid of the desk and barrel, painted the walls, framed in the windows, bought a new slipper chair, ottoman, side table, and floor lamp, and purchased new bedding.
This room is screaming for some crown molding. :)


I really like how the lampshade looks like burlap.

And I was equally excited when I found an ottoman that matched! As a bonus, the lid lifts up for additional storage. I didn't even realize that until I was at the checkout paying for it.

Here's a closer look at the fabric on the slipper chair. I love that I found one with a little blue and brown in it. It's hard to tell, but the pillow is blue with some brown stitching.

Inside that drawer, I keep my reading essentials...my kindle, reading glasses, mints, bookmarks my boys made for me when they were little and a coaster for my hot tea. :)

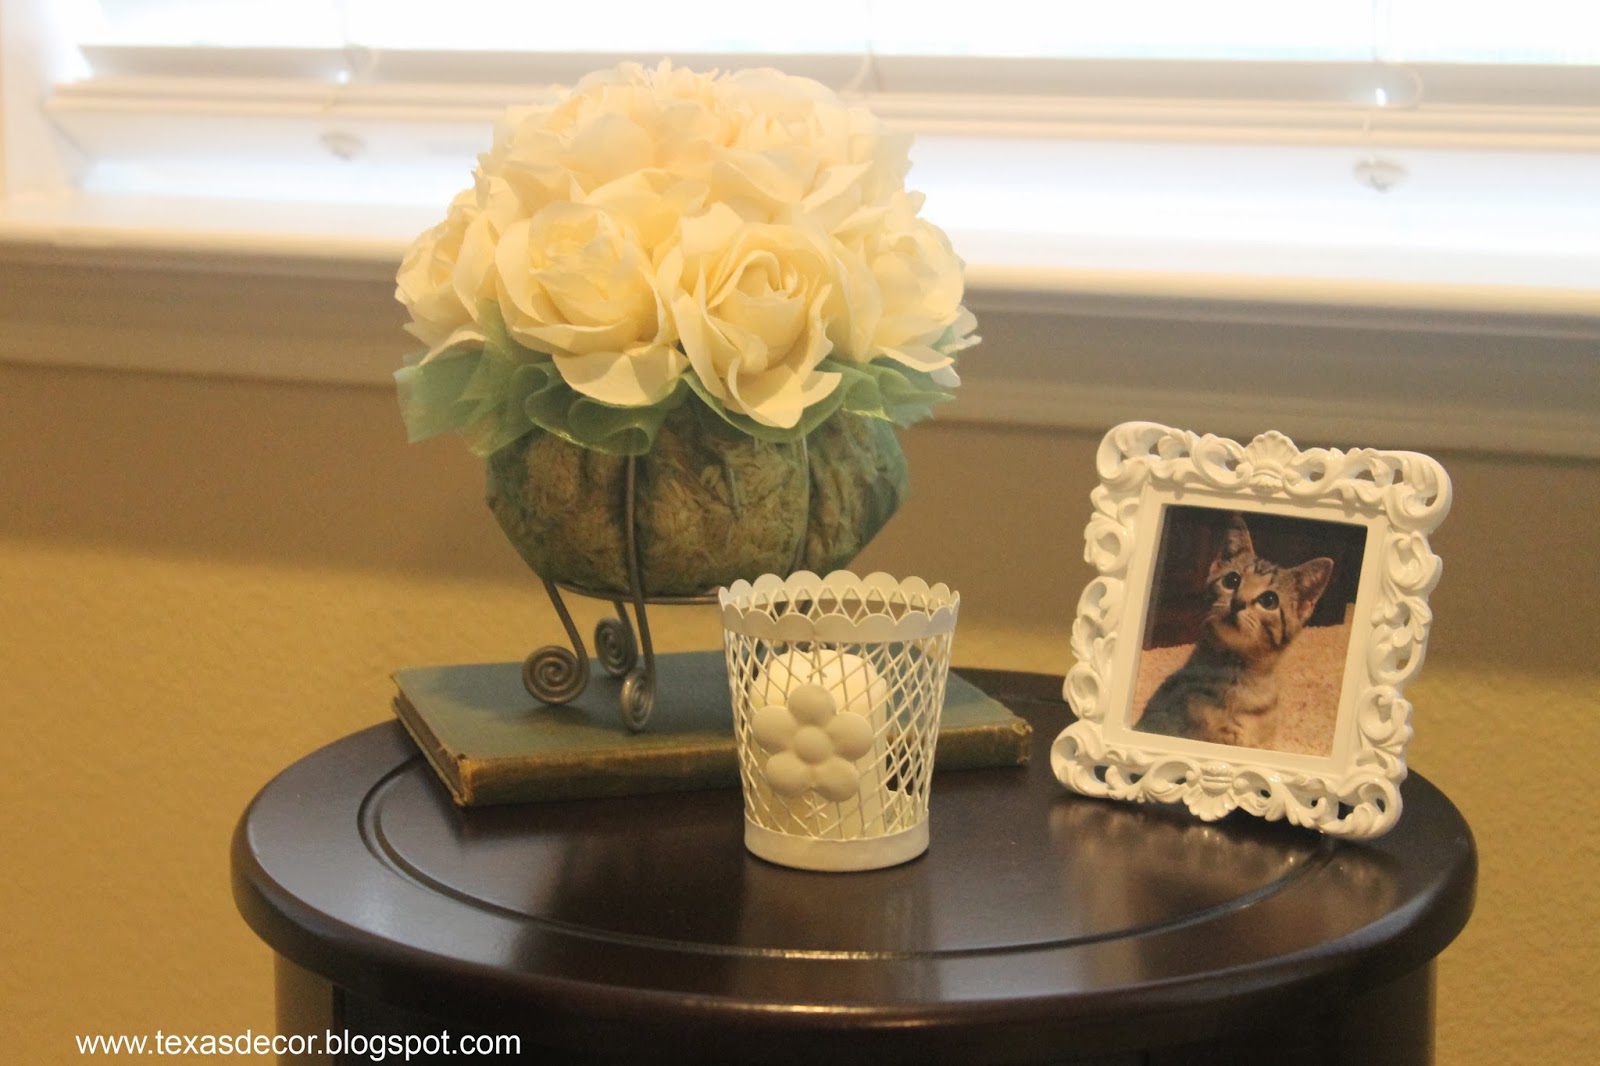
Of course I have to have a picture of little Holly cat. :) Awww...she was just a kitten then! That photo was taken last February. Sweet girl!

Here's how I decorated the top of the armoire. I'm actually just trying to disguise those black speakers up there. :) The picture is leaning against one.

Okay, so apparently, the only reason we still need that big ol' desk top computer was so that the kids could play their computer games. From what I understand (which is very little when it comes to computers) is that our laptops aren't big enough, fast enough, or strong enough to handle the games they play. I don't think they have enough storage space either. Or something like that.
So, I came up with a solution one day when I was home by myself. I decided to try and see if the computer and monitor could fit inside the armoire. And they did!! Now I just had to figure out something for the printer. It didn't take me long to find a hiding place for that too. :)
So, here's the armoire with the doors open so you can see how we put the computer and monitor in there. We did have to cut a few holes in the back of the armoire to allow for air circulation. (sometimes it pays to buy cheap furniture that you can easily cut holes in) Lol!

And here's a closer look. We still have the tv in there, but there was plenty of room for the monitor and computer tower thingy. We just slide the keyboard next to the computer when we're not using it. And the mouse is on top of the computer.

Here's how it looks when someone is using the computer. We just pull the new chair over in front of the armoire and put the ottoman in front of it. We did have to get a wireless keyboard and mouse so there wouldn't be any wires to deal with. Sometimes I don't even use the ottoman. I just set the keyboard in my lap. My hubby also set it up where the kids computer games show up on the big tv instead of the computer monitor. They like having their games "supersized" like that. :)

Now for the printer...
See this regular old nightstand? Well...

Ta-da!! I was able to fit the wireless printer in here! Again, we had to cut a hole in the back for air to circulate, but that was no biggie.

And that's not all...look what my hubby made...

Yep, he used some of the wood from the old desk and made a slide out shelf that the printer sits on and it slides out if we need to lift the top to make a copy or something! The desk matched the armoire and nightstand, so the wood for the shelf was a perfect match!
Moving the computer into the armoire and printer into the nightstand were the first two things we did that started the whole makeover process way back in the early fall. Then I got the bedding, chair, table, ottoman, and lamp, but then it sat like that for a few months before we painted and framed in the windows.
Moving the computer into the armoire and printer into the nightstand were the first two things we did that started the whole makeover process way back in the early fall. Then I got the bedding, chair, table, ottoman, and lamp, but then it sat like that for a few months before we painted and framed in the windows.
I was so glad to get rid of that desk and barrel and be able to hide the computer and printer. Now I feel like we have a "real" bedroom. :)
These are the doors to our bathroom, which we also painted in Kilim Beige.

Here are a few "before" shots of our bathroom...there's that lovely lion's mane paint again, along with another poofy valance. :)


And here are the "afters"

Ahh...so much better. :) We framed in the bathroom window too. I really didn't want to mess with curtains or valances in the bathroom or bedroom, and I'm loving the plain, framed in look.
Below is my side of the bathroom. :) My counter is a tad lower than his.


And there's hubby's side on the right.


Can I just pause here for just a minute to say how incredibly hard it is to paint behind a toilet?? Oh my! Bathrooms are not fun to paint with all their little nooks and crannies.

So, here's how we framed in the windows. We just painted the inside of the windows with a semi gloss white paint that matched the windowsills. Then we put up some trim along the sides and top and painted it with the same semi gloss white. And that's it! Painting the insides of the windows kind of makes it look like there's wood there too. Kind of like window casing.

We did this same process with our kitchen, dining room, and living room windows. Only in here, we went with a taller piece on top.
Here are just a few more pics...


If you've stuck with me through this very long post, then bless you. :) Thanks for stopping by and y'all have a wonderful day!
~Lisa
I'm joining these parties: Dwellings The Heart Of Your Home, Savvy Southern Style, Imparting Grace, I Heart Naptime, Common Ground, I Should Be Mopping The Floor, Cupcakes and Crinoline, It's Overflowing, Driven By Decor, A Joyful Cottage, From My Front Porch To Yours


